Cleaning Sand from Mushrooms: A Forager's Practical Guide and the Facts Behind Home Remedies
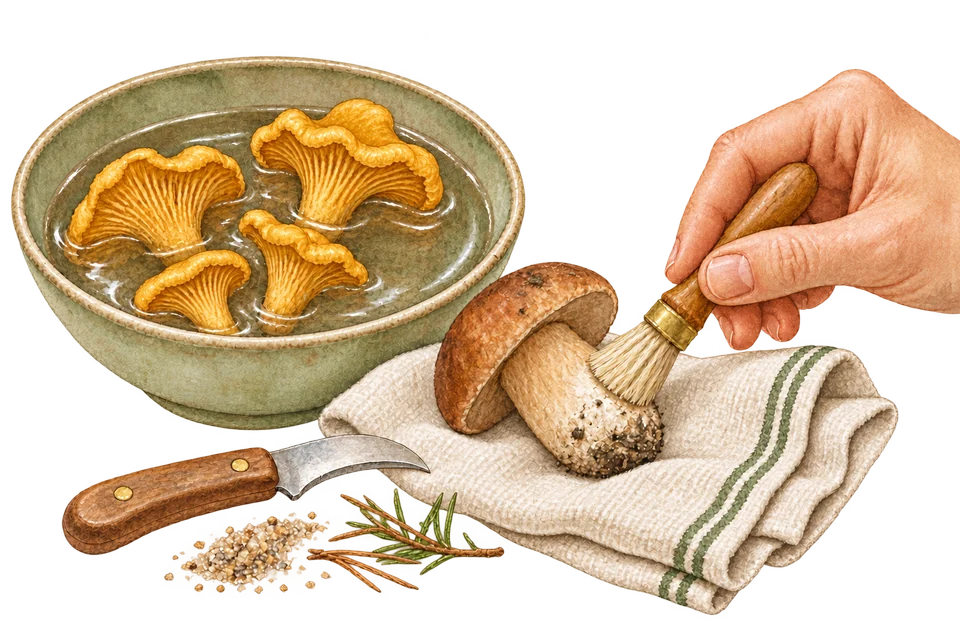
Table of Contents
- 1. The golden rule: 80% of success starts in the woods
- 2. The brine method (For gilled mushrooms)
- 3. The flour method (The trick for chanterelles)
- 4. Cold or warm water? The role of temperature
- 5. Yellow knight (Tricholoma equestre) – a masterclass in cleaning
- 6. Quick cheat sheet: How to handle specific mushrooms?
- 7. Summary: The forager's 3 cardinal kitchen sins
Grit crunching between your teeth can ruin the finest scrambled eggs with chanterelles, porcini sauce, or a jar of pickled knights. For years, foragers have passed down generational kitchen hacks: soaking in brine, dusting chanterelles with flour, or tossing ice cubes into the water. In practice, these methods genuinely make kitchen prep easier, but the folklore theories behind them (“salt weighs down the sand”, “flour drags dirt to the bottom”, “ice closes the mushroom's pores”) rarely match reality.
The guide below provides a step-by-step walkthrough on how to clean sand from mushrooms – especially the trickiest of them all, the yellow knight – and explains in accessible terms why these tried-and-tested tricks work, and what about their traditional explanations is pure myth.
1. The golden rule: 80% of success starts in the woods
The simplest way to deal with sand in the kitchen is... not bringing it home in the first place.
- Cleaning at the stump: Immediately after cutting or twisting out a mushroom, slice off the sandy base of the stem. Tossing specimens with clumps of forest soil into your basket means dust and quartz particles will coat the entire basket's contents as you walk.
- A separate container for "sandy challenges": Collect yellow knights, slippery jacks, or chanterelles gathered from sandy tracks in a separate compartment of your basket, a paper bag, or a cloth pouch. Kept together with porcini, they will soil their delicate sponge-like tubes, from which dry sand removal is practically impossible.
- Brush in hand: A mushroom knife with a small natural-bristle brush allows you to brush pine needles and sand off the caps as you go, before moisture in the basket binds them to the flesh.
2. The brine method (For gilled mushrooms)
A salted water bath is a traditional method for yellow knights, saffron milk caps, or honey fungus intended for boiling, braising, and pickling.
How to do it in the kitchen:
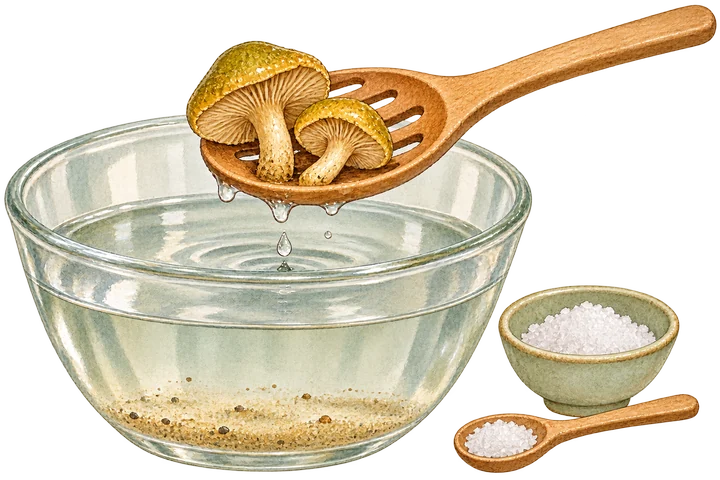
- Into a bowl of lukewarm or cool water, add 2–3 heaped tablespoons of salt per 1–1.5 litres of water (yielding an approximately 3–5% solution).
- Add the mushrooms and leave for 15–20 minutes, gently stirring them by hand from time to time.
- Crucial step: Lift the mushrooms out by hand or with a slotted spoon from the surface of the water. Under no circumstances should you pour the contents of the bowl through a colander – doing so would wash the mushrooms right through all the sand that has settled to the bottom!
- Finally, rinse the mushrooms briefly under running water to wash off excess salt.
What is the deal with salt? (Myth vs facts)
- Popular myth: “Salt makes the water heavier, which is why sand sinks to the bottom of the bowl faster”.
- What really happens: Salt does indeed increase the density of water (from approx. 0.998 g/ml in pure water to approx. 1.02 g/ml at 3% and 1.034 g/ml at 5% concentration). However, a salt solution also becomes slightly more viscous. The physics of fine particle settling shows that in such a fluid, an individual quartz grain actually sinks marginally slower (by approx. 6–10%) than in unsalted water. Salt therefore does not speed up the settling of sand.
- Why does this method help then?
- Mushrooms float better: Because a mushroom consists mostly of water and its density is close to 1 g/ml, a denser brine exerts greater buoyancy on it. The mushrooms float more readily near the surface, while sand – being more than 2.5 times denser – settles easily to the bottom anyway. This creates a distinct gap that makes separating them much easier.
- Effect on mushroom tissue: Research into fluid exchange in mushrooms indicates that salt solutions affect cell structure and elasticity. While the effect depends on concentration, a likely explanation is a mild change in tissue turgor – the gills become less compressed, making it easier for trapped particles to detach from the surface.
- Flushing out tiny hitchhikers: Salt irritates tiny insects and larvae hidden within the crevices of the gills, forcing them to leave their hiding spots.
3. The flour method (The trick for chanterelles)
Chanterelles (golden chanterelles) have distinctive, ridged false gills where fine sand can become firmly wedged. Standard washing under a strong tap often proves ineffective.
How to do it in the kitchen:
- Place dry chanterelles, pre-cleaned of pine needles, into a bowl.
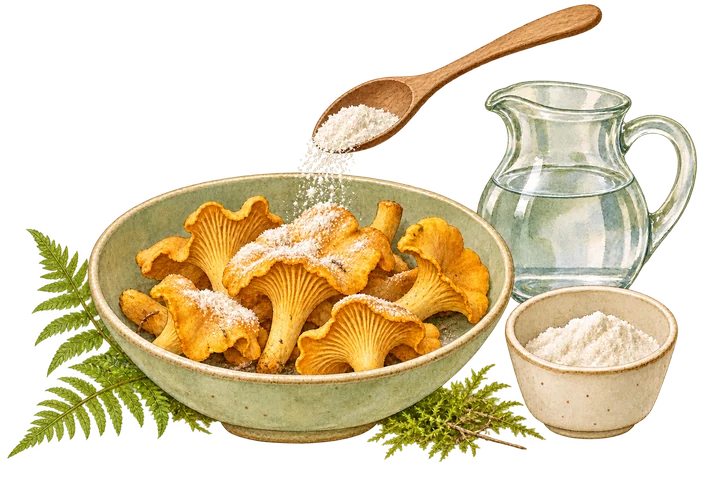
- Dust them with 2–3 tablespoons of plain wheat flour (or potato starch) and toss gently by hand while dry so the flour penetrates into every crevice.
- Pour very cold water into the bowl and stir the mushrooms gently for about a minute. The water will turn cloudy.
- Remove the chanterelles by hand or with a slotted spoon into a sieve, discard the cloudy water and sediment, then rinse the mushrooms briefly under a cool running tap and pat dry on kitchen paper.
How does flour work? (Exploring the hypothesis)
- Popular myth: “Flour coats the sand, weighs it down, and acts like a professional flocculant from a water treatment plant”.
- What science says: Flour cannot “weigh down” sand because it is significantly lighter than quartz (the density of flour is approx. 1.4–1.5 g/cm³ compared to approx. 2.65 g/cm³ for sand). Furthermore, raw flour in cold water does not gelatinise (this requires a temperature above 60°C) and does not turn into glue or a chemical flocculant, but simply into a granular suspension.
- Why then is this method effective?
- Mechanical cleaning (gentle friction): The primary hypothesis explaining the success of this method is mechanical. During dry tossing and stirring in water, flour particles act as a very gentle abrasive. They help dislodge the sticky film and forest litter to which quartz grains cling.
- Possible aggregation: Flour particles may bind very fine mineral dust into slightly larger clusters (aggregates). According to sedimentation principles, larger clumps settle faster than individual, microscopic particles of soil dust.
- Easier rinsing: The flour suspension provides lubrication, allowing dirt to wash off the wrinkled gills more easily than with water alone.
4. Cold or warm water? The role of temperature
A fair few myths have grown around water temperature when washing mushrooms, particularly regarding the use of ice.
- Myth: “Ice-cold water instantly closes the mushroom’s pores, stopping it from absorbing any water at all”.
- Reality: A mushroom does not have pores in the sense that human skin does – its fruiting body is a dense tangle of hyphae that absorbs moisture like a sponge through capillary action. Adding ice will not make the mushroom waterproof.
- Why, then, is cool water beneficial?
- It prevents flour from gelatinising – warm water would turn the coating on chanterelles into a sticky batter.
- Low temperatures do not compromise the structure of the mushroom’s cell walls, keeping the fruiting bodies firm and crisp, which makes them easier to slice and fry.
- What about warm water and boiling water? Warmer water has a lower viscosity, making it easier to penetrate tight crevices. In turn, brief blanching in boiling water shrinks the mushroom tissue and alters its texture, which helps quickly release trapped grit. However, this method is strictly for mushrooms destined straight for a vinegar pickle or a simmered sauce – a blanched mushroom softens and loses the qualities needed for a crisp sauté.
5. Yellow knight (Tricholoma equestre) – a masterclass in cleaning
The yellow knight is one of the tastiest yet most demanding mushrooms of late autumn. It grows in sandy pine forests, often completely hidden beneath moss and pine needles, and on damp days its cap becomes covered in a sticky slime that holds sand like cement.
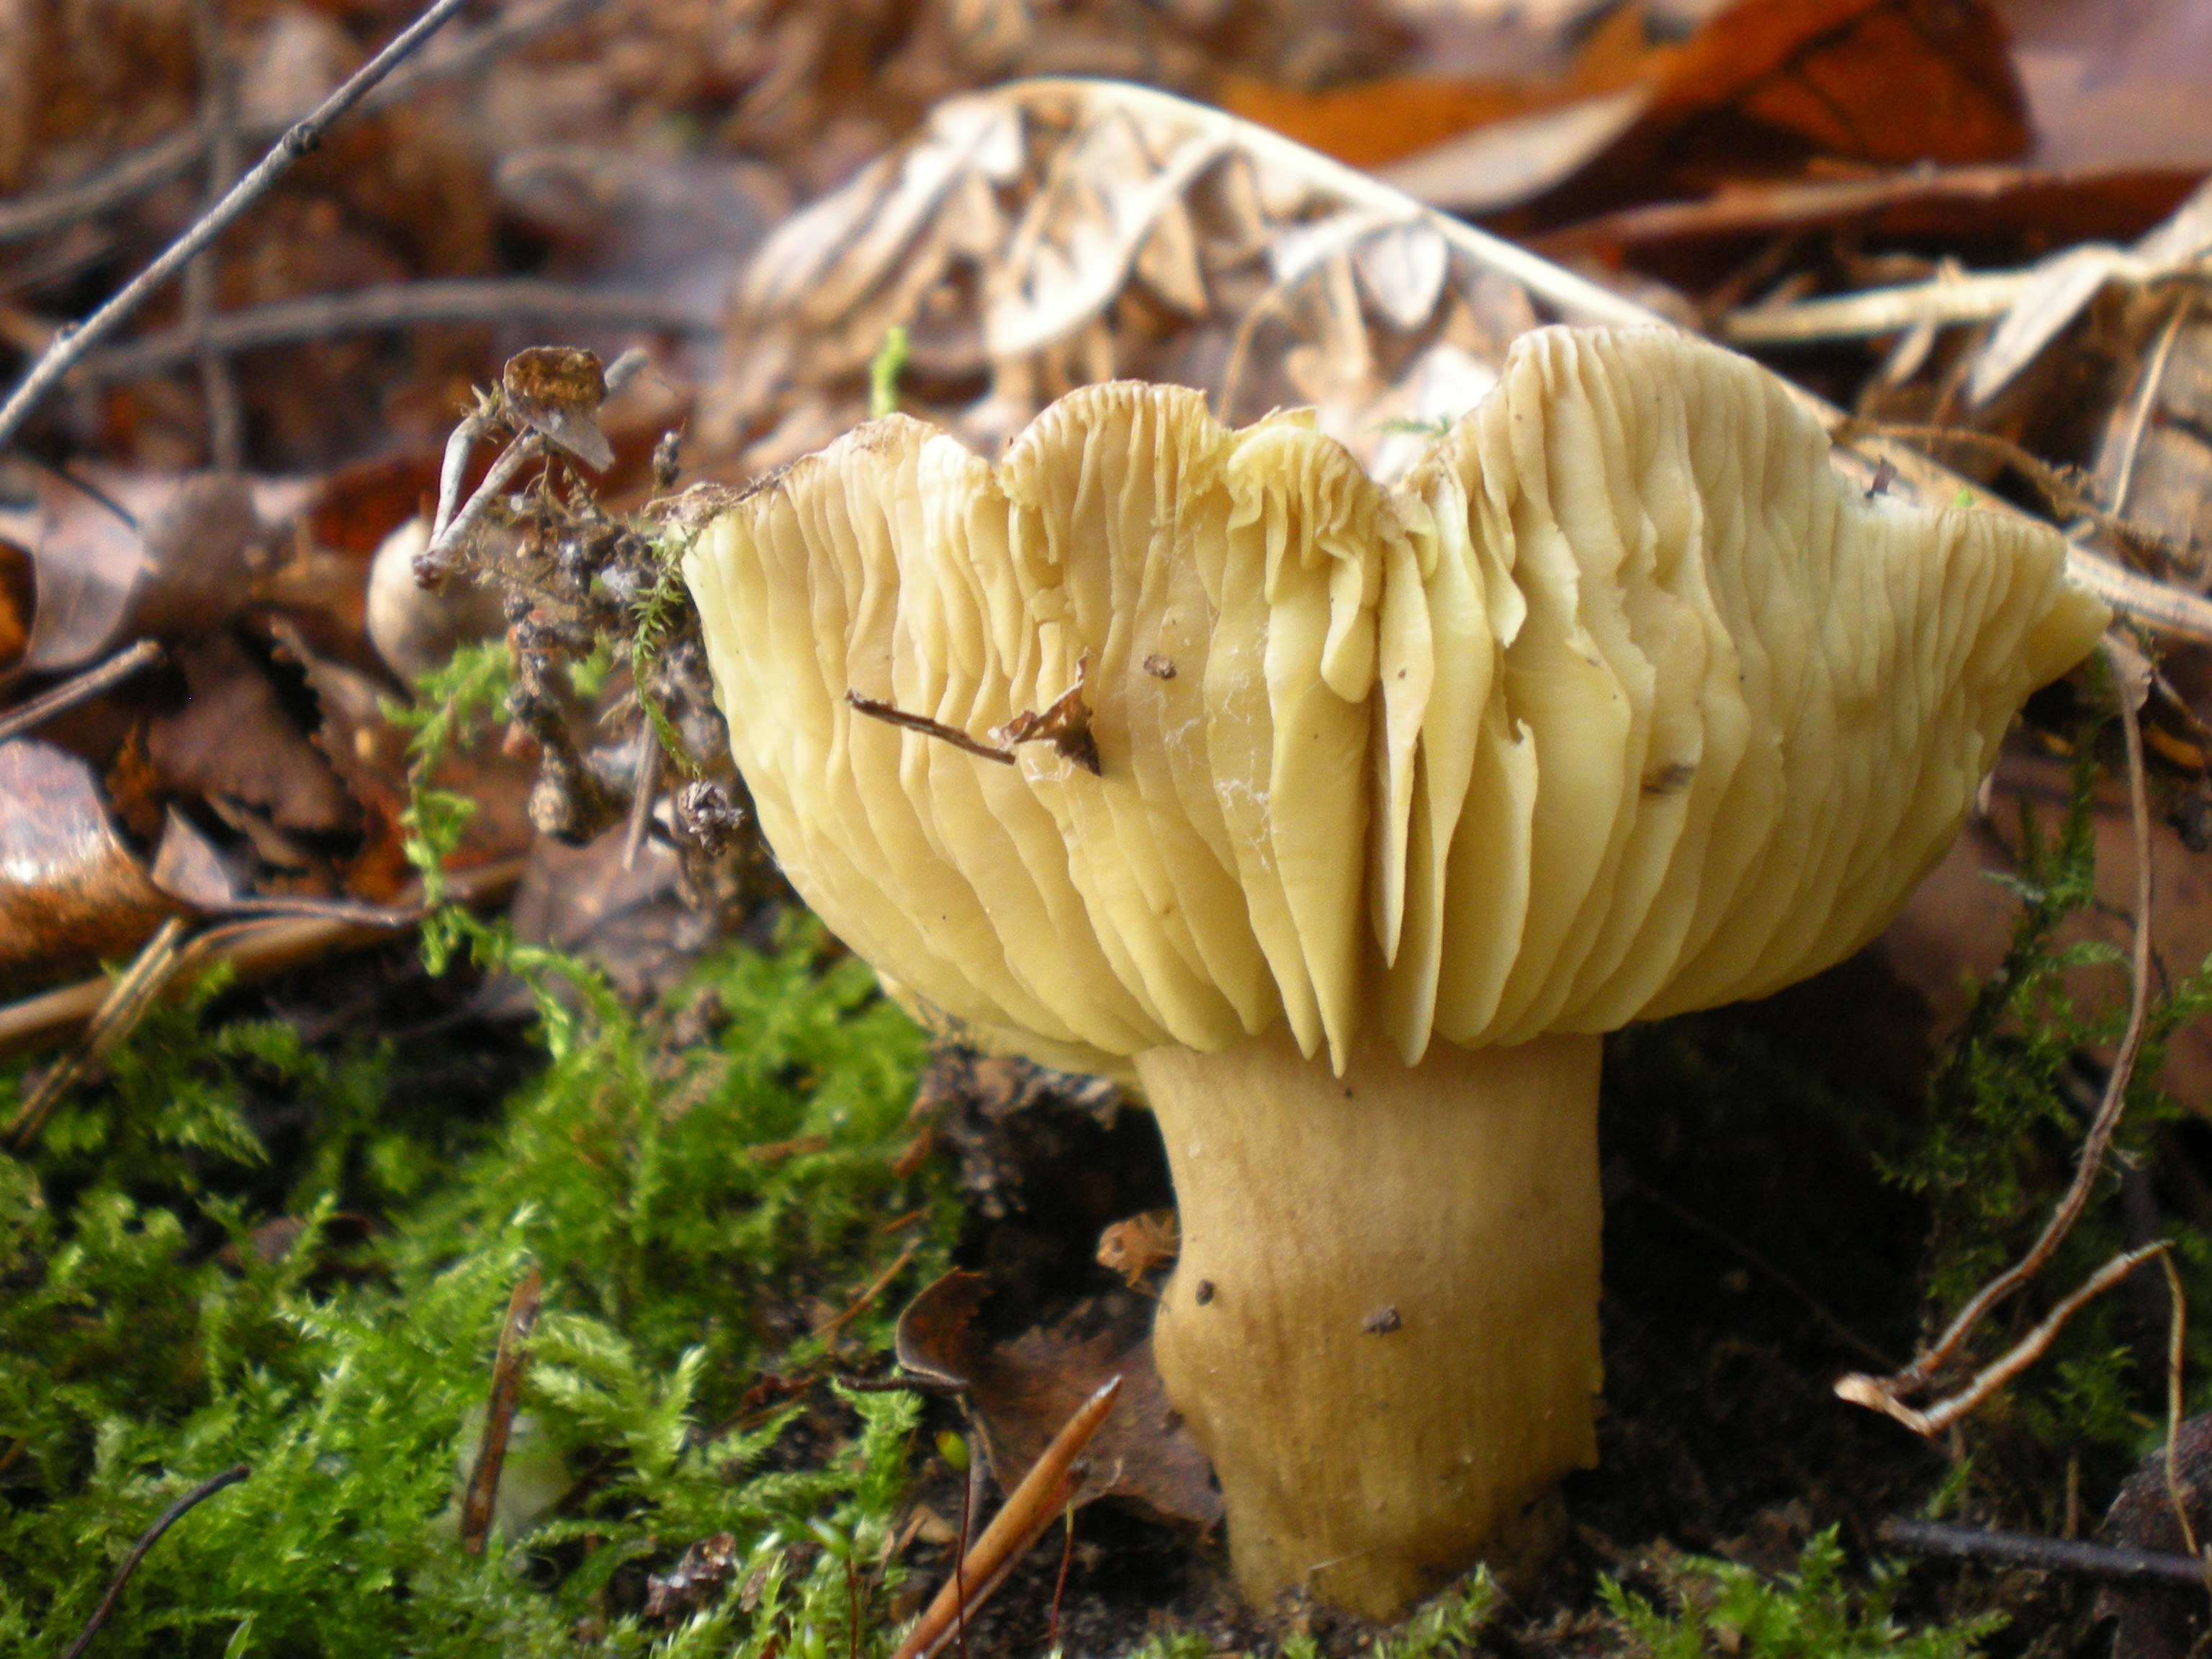
- Scraping the stem
- Peeling the skin dry
- Brine bath
- Rinsing under a gentle stream
Step-by-step instructions:
- Peeling the skin from the cap (The most important step):
- Rinsing a yellow knight with its skin on is a Sisyphean task because quartz grains are embedded in the sticky slime.
- Pry up the edge of the skin from the underside of the cap with a small knife and pull towards the centre. The skin peels off the yellow knight easily in whole sheets. With it, you permanently get rid of most of the sand on the cap.
- Cleaning the stem:
- Scrape off the fibrous outer layer of the stem with a knife, and simply cut off the sandy base.
- Brine bath:
- Place the peeled yellow knights into cool or lukewarm salted water (approx. 2 tablespoons per litre) for 15–20 minutes. The yellow knight has firm flesh and tolerates such a soak well.
- Rinsing using the "fan" method:
- Remove the yellow knight from the water and, under a gentle, diffuse stream of running water, gently fan out the gills with your thumb from the centre outwards.
- It is worth slicing larger specimens lengthwise in half or into quarters – sand tends to accumulate where the gills meet right by the stem.
- Draining:
- Arrange the mushrooms gills-down on a clean tea towel or sieve so the water drains freely.
Safety and caution: What every yellow knight forager must know
Beware of dangerous confusion:
- Death cap (Amanita phalloides): Has a prominent volva at the base of the stem (often buried in sandy forest litter) and a ring on the stem. The yellow knight never has a ring or volva, and its gills and stem are characteristically yellowish or olive-yellow (on the death cap, the gills are pure white).
- Sulphur knight (Tricholoma sulphureum): A poisonous mushroom. You will recognise it instantly by its repulsive, chemical smell reminiscent of coal gas, paraffin, or carbide (the yellow knight smells pleasantly of fresh flour).
The issue of rhabdomyolysis (Eat in moderation): For decades, the yellow knight was considered a safe and prized mushroom in Poland. However, medical reports and toxicological studies have shown that very heavy consumption over several consecutive days can lead to rhabdomyolysis (the breakdown of skeletal muscle tissue), posing a serious threat to the kidneys and heart.
- Rule of common sense: The yellow knight should be treated as an occasional delicacy in small quantities (e.g. a small jar of pickled mushrooms from time to time or a modest flavouring addition), rather than a main meal eaten daily by the bowlful. Yellow knights must also not be dried.
6. Quick cheat sheet: How to handle specific mushrooms?
| Species | Main challenge | Best method | What to avoid |
|---|---|---|---|
| Porcini, bay bolete | Sand in the tubes and forest debris on the stem | Dry only: small knife, brush, wipe with a slightly damp cloth. | Prolonged soaking in a bowl (the sponge absorbs water, mushroom loses aroma). |
| Chanterelle (golden chanterelle) | Dust and sand in the wrinkled false gills | Flour method with cold water, quick rinse and drain. | Leaving in water for extended periods, washing under high pressure. |
| Yellow knight | Sand stuck in slime and dense gills | Dry cap peeling, brief brine bath (3–4%), gentle rinsing of the gills. | Washing with the skin on, pouring water through a colander. |
| Slippery jack | Sticky slime binding sand | Dry peeling of the skin before any contact with water. | Washing in water before peeling (slime turns into an unremovable gel). |
| Parasol mushroom | Debris particles and scales | Dry-brushing the cap, discard the stem. | Soaking in water (the cap instantly absorbs water like a sponge). |
7. Summary: The forager's 3 cardinal kitchen sins
- Pouring water from the bowl through a colander: The most common blunder. Sand that has settled to the bottom of the bowl is poured directly back over the mushrooms when tipping the contents into a strainer, wedging itself between the gills all over again. Always scoop mushrooms out from the top!
- Rinsing under a fierce tap stream: High water pressure drives quartz grains deeper into the soft flesh and ruins the delicate structure of the mushrooms.
- Leaving sandy mushrooms until the next day: Slime on yellow knights or slippery jacks dries out overnight, fusing with the sand into a hard crust that can subsequently only be removed by sacrificing valuable flesh. It is always best to give mushrooms a preliminary clean immediately upon returning from the woods.